How to Customize Your T-shirts at Home in 4 Easy Steps
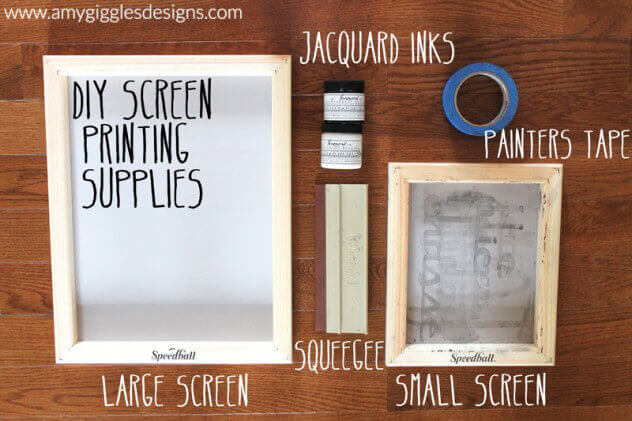
DIY T Shirt Image from AmygigglesDesigns.com
If you are one of those people who think t-shirts available out there are just not clever or funny or individualistic enough to reflect your personality, you’re in luck. Today we look at how you can make your own custom t shirts right at home (we also have a little surprise for you at the end). You can create t-shirts with the photo of your child or grandchild, a clever, sassy message, a moving or inspiration quote, or any design that you particularly like.
Here’s an idea: May 10th 2015 is Mother’s Day so how about a thoughtful, fun gift for your mom – a t-shirt that you made especially for her by you! There are a few ways you can go about customizing a t-shirt for your mom or for yourself.
Choose your t shirt design and color scheme
Will it be an inspirational thought or a witty saying, or will it be a photo or some graphic design? What is the color scheme going to be like? You will need to create a contrast between the color of the t shirt and the lettering or the graphics or the results will turn out dull and unattractive. Also see how and where you plan to position the image or text on the tee. If you’re going to customize a t shirt for your mother, be sure you have the correct size for her; preferably in her favorite color. Also remember, 100% cotton t shirts work best for these DIY projects.
How to create a bleach spray T-shirt
For this custom t shirt you need a plain cotton shirt, stencil or cutout, bleach and spray adhesive.
- Create a stencil design (check out some of these Pinterest ideas for t-shirt stencils) or use one that you already have
- Spread the shirt out on a flat surface. Insert a cardboard sheet inside the tee so you avoid getting the bleach on the back of it. Smooth out any folds or wrinkles. Spray the back of the stencil with some spray adhesive and place the stencil in the correct position; press down lightly.
- Pour undiluted bleach into a spray bottle. Spray lightly and evenly into the cutout areas and the areas surrounding the stencil. Mop up to soak up extra bleach. Carefully remove the stencil
- Expose the t shirt to bright sunlight for at least an hour, let dry and you’re done!
How to print your own custom t shirt
- This process needs iron-on transfer paper, a plain tee, scissors, an iron and your trusty printer (be sure that there is sufficient ink or toner in there for your project).
- Choose a design for the tee on your computer – you can use a slogan, a photograph, clip art, or a graphic image. Create and edit the image, the colors and layout using photo editing or desktop publishing software. Scale up or down as required and adjust contrast and tone. If its text you’re going to print, be sure to get the mirror image of the words before printing.
- Insert iron on transfer paper into your printer and take a printout following the printed instructions
- Cut out the design carefully
- Position the cut out over the t-shirt as required (centre, off centre, on the back of the shirt etc) and carefully dry iron (don’t use steam) the design on to the shirt as per the instructions. Peel away the paper backing and you’re pretty much done.
Our special May coupon code
And just so you don’t have to worry about the amount of ink or toner that you’re going to use up as you print out those t-shirts for yourself or your mom this Mother’s Day, we’ve decided to help you say Happy Mother’s Day with our special promotional all this May. We’re offering a special 7**% off any $7+** on all ink and toner cartridge purchases all through this month. Use the coupon code 7MAY7 during check out to get your discount automatically.
So here are two simple ways to make create your own custom tees. Do let us know which method you tried and how it turned out for you. And if you made a tee for your mother, we’d love to hear how that turned out as well!

